All you need to know to keep your Phalaenopsis orchids happy!
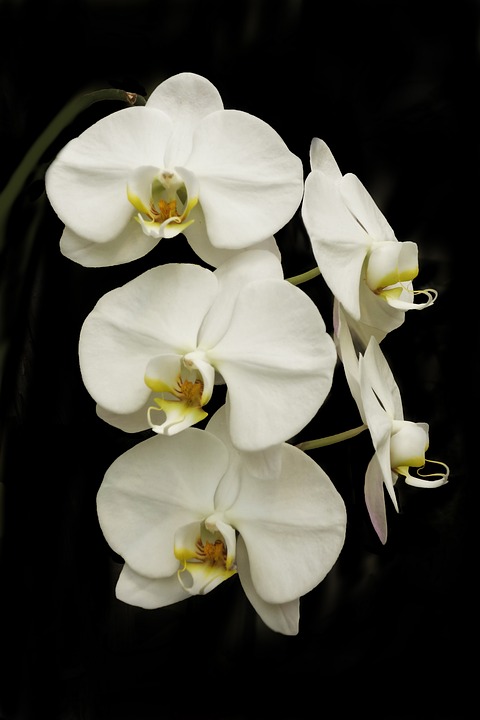
Phalaenopsis orchids, also known as Moth Orchids, make excellent flowering houseplants, bearing large and beautiful flowers over a long period. They are among the most popular indoor orchids for the following reasons:
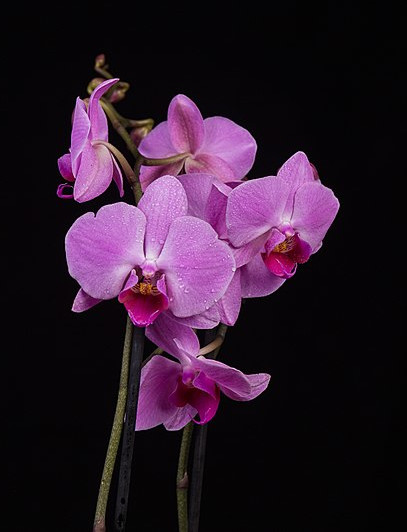
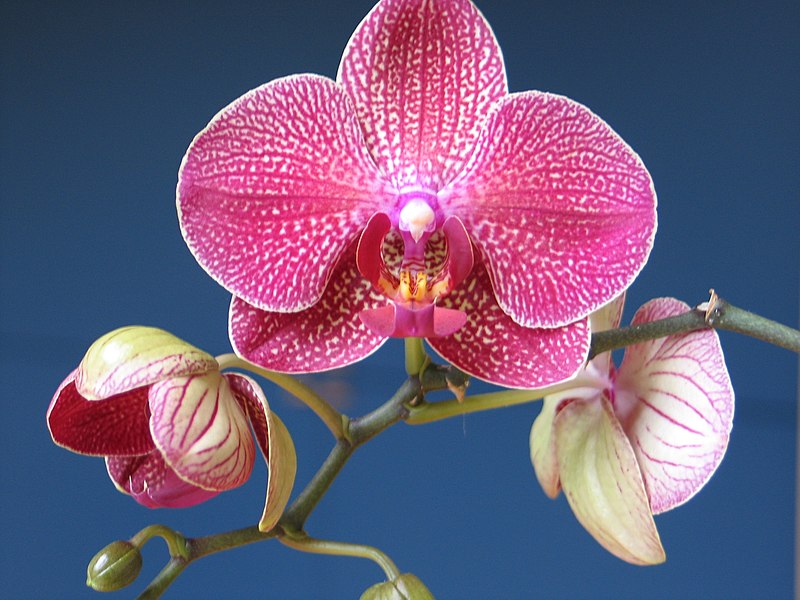
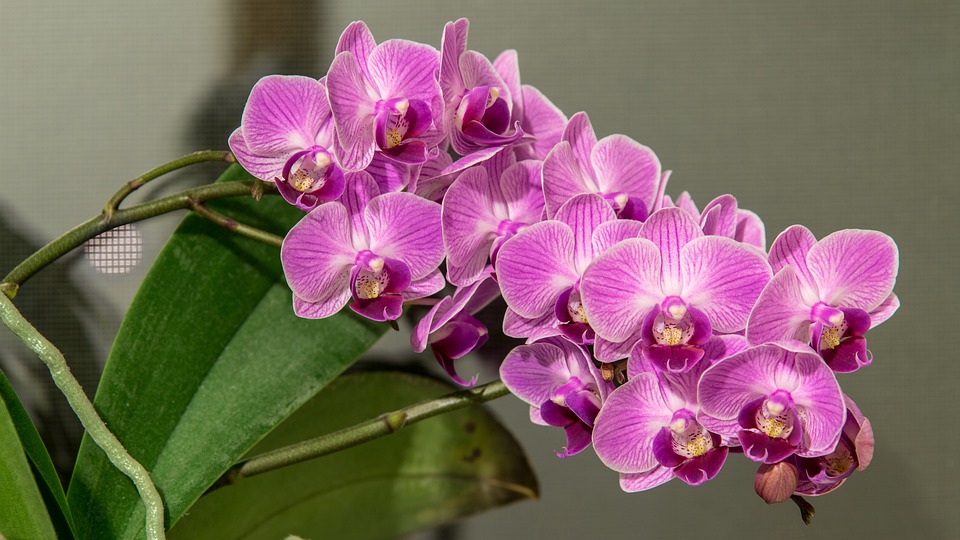
- large, showy flowers in a range of vibrant colours
- blooming occurs over a long period (2-4 months)
- plants thrive in standard centrally-heated room conditions
- many hybrids are widely available
- caring for Phalaenopsis orchids is relatively easy

Phalaenopsis orchids originate from tropical regions of Asia and Australia, often found growing on the branches of trees or in crevices between rocks by streams. In cultivation the aim is to recreate similar conditions by choosing an open structure compost, growing the orchids in warm conditions and avoiding direct sunlight.
If you are new to growing indoor orchids, these are the plants for you!
Containers
Phalaenopsis orchids may be grown in either plastic or clay pots successfully, though it is more common to use plastic. Whichever type you choose, it is essential that the compost remains open in structure and never becomes soggy so ensure that the pot has adequate drainage holes. Porous clay pots will lose water through evaporation slightly quicker than plastic pots.
Many Phalaenopsis orchids are sold in clear orchid pots, and some growers prefer to keep their plants always growing in this type of clear container. The advantage of clear pots is that you can easily keep an eye on the condition of the compost below the surface and know when the plant requires watering. Some growers also recommend clear pots because it allows the roots to receive sunlight and to photosynthesise, thereby helping to provide additional food for the plant. However, opaque plastic pots are perfectly suitable if clear pots are not available.
Compost
Normal houseplant compost is not suitable for Phalaenopsis orchids. Always use a specialist orchid compost which is very open in structure and contains wood or bark chips. Orchid compost gradually breaks down and becomes compacted over time so you should re-pot orchids every two years.
Position
Choose a position that has bright natural light but shielded from direct sunlight which can burn the leaves. An east or west facing window is a good choice provided that there is some shielding from the midday sun during the summer. A north facing window is also suitable as long as there is no shading but it may be necessary to move the plant away from the window during winter nights or spells of prolonged cold. Phalaenopsis orchids dislike cold draughts or suddenly fluctuating temperatures.
Temperature
Phalaenopsis orchids are tropical plants so you should grow them in warm conditions. Fortunately, they thrive in the temperature range found in the average centrally heated house. Keep the orchid growing above 16 Celsius at all times, but an ideal range is about 19 Celsius to 24 Celsius. Yu can easily monitor the temperature fluctuations in your room using a digital Min-Max thermometer.
Watering
Although the compost needs to be free-draining, it should retain some moisture and dry out slowly between watering. The amount of heat and light your Phalaenopsis receives, and the choice of either clay or plastic pots, will determine the frequency of watering. The greater the heat and light, the more water they will require; clay pots may dry out more quickly due to evaporation of water from the porous sides. Generally, you should water your orchids once a week when they are actively growing but reduce the frequency to once every 10 days or so in winter. Rainwater is best if available.
The biggest risk is over-watering your plant: Phalaenopsis orchids will suffer more from too much water than too little water. If you forget to water your orchid one week, it will normally be forgiving and suffer no significant harm. When applying water to your Phalaenopsis, always add it to the compost and never the centre of the plant as it can lead to rot. If you accidentally splash water in the centre, carefully dry it with a piece of paper towel. Never allow the pot to stand in water as this will encourage the roots to rot.
Humidity
Although Phalaenopsis orchids will tolerate the relatively dry air of modern houses, adding a little additional moisture into the air around the plants can be greatly beneficial. You can do this in two ways. Firstly, you can lightly mist the plants using a hand sprayer. Secondly, you can place a 2-3 cm layer of clay pebbles in a wide saucer or tray. Add water to the tray until it is just below the surface of the pebbles. Stand the orchids on top of this layer of pebbles, and the water evaporating from the surface of the pebbles will increase humidity around the plants.
Feeding
Phalaenopsis orchids are not heavy feeders but they benefit from orchid fertiliser applied every other watering during the growing season. You can use a normal houseplant fertiliser if you do not have orchid fertiliser, but dilute it to around one-third or half the normal dosage. Orchid drip-feeders are a convenient solution, just add one to each orchid pot and they last approximately 4-6 weeks. If you are applying fertiliser regularly, flush the pots with clean water once a month to remove any build up of salts from the fertiliser.
Flowering
Phalaenopsis can produce flowers at any time of the year, according to temperature and humidity. Orchids that have been growing in the house for some time will tend to fall into a pattern of producing flower stems around October or November, with blooms appearing around February and March. The drop in temperatures around September, normally before central heating is switch on, help to initiate the onset of flower spikes. If a healthy plant has not bloomed for some time, try reducing the temperature by around 5 degrees Celsius for a month and this may help new flowers stems to form. Remember to keep your Phalaenopsis orchids above 15 Celsius.
Re-potting
Replace the compost around your Phalaenopsis orchids every two years, or sooner if the plant has outgrown its container. The process of re-potting should be done after flowering, and when the compost is dry (ie just before watering). The steps are as follows:
- Remove the orchid from its pot and gently untangle the roots. Carefully brush out the old compost from between the roots.
- Cut away any dead or damaged roots – you can recognise these by their dark, shrivelled appearance.
- Trim back long healthy roots to around 12 cm in length.
- If you can fit the roots back in the same pot, you may wash and re-use it. When using a larger pot, make sure it is not too big: the roots should be gently constricted in the pot. The compost can become soggy and cause root rot if the pot is too large.
- Position the orchid at the correct height but take care not to bury the crown (the area where the leaves meet at the centre of the plant). Gently work in the new compost around the roots, tapping the pot to settle it down as you go. Carefully firm the compost so that the orchid does not move in the pot. Insert a cane for support at this time if required.
- Give the plant a thorough watering, allowing excess water to drain away before placing the pot back in its saucer or tray.
Propagation
Occasionally small plantlets known as keiki appear from the nodes of flower stems. Once these plantlets have produced several good roots, carefully detach them and plant in small pots.
You can encourage formation of keiki by applying a hormone preparation known as ‘keiki paste’ to the nodes of the flowering stem. The bract covering the node must be carefully removed with a sharp scalpel: make a vertical cut down the bract, taking care not to damage the bud below. Carefully split the bract and remove it to expose the bud underneath. Apply the keiki paste to the surface of the bud. After 6 to 8 weeks, if the process is successful, new plantlets should start to be produced from the node. You can purchase Keiki paste from specialist orchid growers and nurseries.
Routine care
Phalaenopsis orchids do not need high levels of maintenance but a little housekeeping can keep them in tip-top condition. The leaves should be kept clean and free of dust; use a proprietary leaf shine solution to gently clean the leaves and restore their shine. Old leaves can be removed at their base when they become yellowed or shrivelled and untidy in appearance. Phalaenopsis roots that grow over the surface of the compost and wander down the sides of the pot may look straggly and unkempt but do NOT remove them.
Further reading
Caring for orchids – Kew Gardens web-page
Growing orchids at home: the beginner’s guide to orchid care by Manos Kanellos & Peter White
Orchids (RHS Simple Steps to Success)
An essential 1-stop guide for growing Cymbidium orchids